Syncing Slicers in Power BI
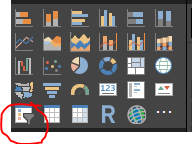
One of my favorite features in Power BI is the ability to add slicers and isolate data within all the visualizations on a page simultaneously. Slicers can be used on various types of data.
As with many features in Power BI, the slicer allows for various levels of customization. The slicer will initially render with a start and end input along with a slider.
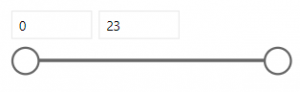
The slider can be removed by selecting “No” next to slider in the slicer formatting window. Other options include include switching the slicer to a drop down box, list, or several other functions. There is also the possibility of allowing multiple selection or requiring a single selection. You can also turn on or off the “all” function for selections.

Additionally, slicers can sync across various pages. The simplest way to do this is to select your existing slicer, press Control-C, and paste the slicer into another page. When you paste the copy of the slicer, a dialogue box will pop up asking if you want to sync with the existing slicer.
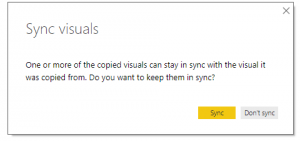
At this point, simply click the yellow sync button and your slicer will sync with the original. You can continue this process on all the pages you want slicers and they will sync with each other.
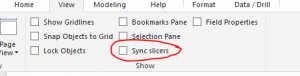
If you miss the dialogue box and later decide to sync sliders, you can sync the sliders on the view menu by clicking the “Sync sliders” option shown below.